You may be asking what do paper ornaments have to do with the theme of Kylie's International Blog Highlights: Flowers? That is a very good question. And here's the answer. I was looking for a beautiful ornament to create with Stampin' Up! products. Through much searching and many suggestions, I came up with the ornaments you see pictured below. I found them on Pinterest by several different demonstrators and they were a suggestion for me on Facebook. I did get the dimensions from Tami White, but I'm not sure where this type of ornament originated. I'm not even sure of it's name--I've heard it called a smoosh ornament, 3D star, paper fold, pop up ornament. I tend to call it a smoosh ornament, so that's what we'll call it today.
While creating ornaments for my ornament exchange at the Victory in the Valley Christmas party, I decided I needed one with pink on it as well as the Be Merry and Year of Cheer ornaments I was creating. I found some DSP from the Pick a Pattern pack that had black and white on one side and a pink floral pattern on the other. As I was putting this together, I realized how these ornaments could also fit the criteria for Kylie's International Blog Highlights. So, I made some more with the Petal Garden DSP specifically for this challenge and a couple with Merry Music just because I love music.
To create these ornaments
- Choose a sheet of DSP and cut 5 3"x3" squares and 2 1 1/2" x 1 1/2" squares.
- Stamp on the squares if you desire
- Score the 3" squares at 1 1/2" vertically and horizontally and one direction diagonally
- Smoosh fold 3" squares into 1 1/2" squares folding the diagonals inside the square
- Glue all five folded squares together with all open edges facing the same direction
- Attach ribbon to outside squares on both sides with tear and tape with ribbone folding up over open corner.
- Attach bead to ribbon and tie knot in ribbon
- Glue 1 1/2" squares to both ends
- Slide bead down toward paper to keep ornament closed.
- Slide bead up toward knot and open ornament into star shape.
- Slide bead down toward paper to keep ornament closed
After writing out those directions, I'm not sure they can be clearly understood without visual representation. I know I couldn't figure them out without a video. So, I will be filming a video making one of these ornaments and attach it to this blog post. Hope it helps.
Here are some pics of the open ornaments:
And the floral ornaments for the blog highlights theme.
Head on over to Kylie's International Blog Highlights page to see all the amazing floral themed projects from all over the world. While you're there, don't forget to vote for your favorites. The Top Ten will be invited to participate in a special blog hop later.


Say hello to a new world of colorful creativity! Meet Stampin’ Blends, artist-quality alcohol markers in 12 exclusive Stampin’ Up! colors. To cover all the blending bases, we’re also offering a limited-time 16-card project kit and stamp set with beautiful line-art images.
Host code for December 1-14 CDSDZHBM
Use this code if your order is under $150.00 and I will send you a host gift with your thank you card from me. If your order is over $150.00 DON"T USE THIS CODE so you can choose your own host rewards.
If you enjoy my posts, sign up by email so you don't miss any when I post. Sign up for my newsletter, to receive updates on specials and upcoming events. If you live in the USA, to shop for products used to create this card or to join my team and become a GRRRace Inker, click on the buttons below


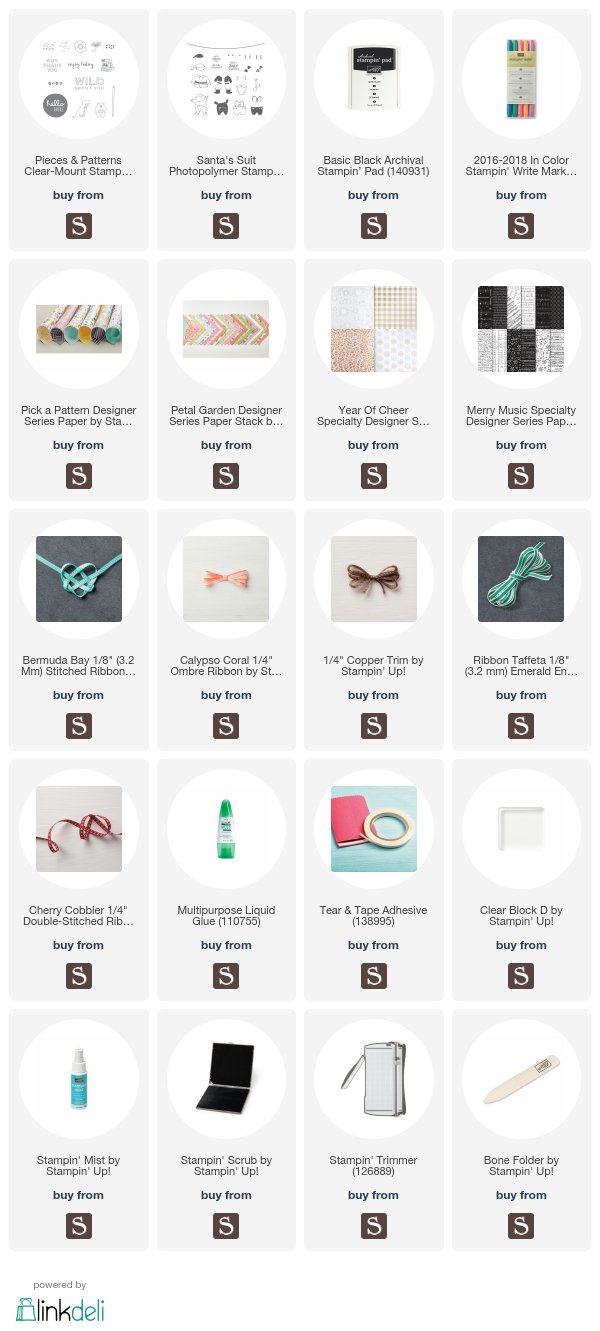
Products used to make this project:


No comments:
Post a Comment